Performing a clean install of Windows 11 involves completely wiping your current operating system and installing a fresh copy of Windows 11. This can help resolve lingering issues or improve performance. Before proceeding, ensure that your PC meets the minimum system requirements for Windows 11 and that you have backed up your important files.
Here’s how to perform a clean install of Windows 11:
- Create a Windows 11 installation media: First, you’ll need a USB flash drive (at least 8 GB) and the Windows 11 installation media. Visit Microsoft’s official website to download the “Media Creation Tool.” Run the tool and follow the on-screen instructions to create the Windows 11 installation media on your USB drive.
- Insert the installation media: Plug the USB drive containing the Windows 11 installation media into your PC.
- Restart your PC and enter the boot menu: Restart your computer and press the appropriate key (usually Esc, F12, F2, or Del, depending on your PC) during the initial startup to access the boot menu or BIOS/UEFI settings. Change the boot order to prioritize booting from the USB drive.
- Start Windows 11 installation: Your PC should now boot from the USB drive, and you’ll see the Windows 11 installation screen. Select your language, time and currency format, and keyboard/input method, then click “Next.”
- Click “Install now”: On the next screen, click the “Install now” button to start the installation process.
- Enter your product key (optional): If you have a Windows 11 product key, enter it when prompted. If you don’t have a key or want to enter it later, click “I don’t have a product key.” You can enter the product key after installation to activate Windows 11.
- Select the Windows 11 edition: Choose the edition of Windows 11 you want to install (Windows 11 Home, Pro, etc.), then click “Next.”
- Accept the license terms: Read and accept the license terms by checking the box, then click “Next.”
- Choose the installation type: Select “Custom: Install Windows only (advanced)” to perform a clean install.
- Delete existing partitions: You’ll see a list of existing partitions on your PC. Select each partition and click “Delete” to remove them. Make sure you have backed up your important files, as this process will erase all data on the partitions.
- Create a new partition: After deleting the existing partitions, you should see an “Unallocated Space” entry. Select it and click “New” to create a new partition for Windows 11. The default size is usually sufficient. Click “Apply” and “OK” when prompted.
- Install Windows 11: Select the newly created partition and click “Next” to start installing Windows 11. The installation process may take some time. Your PC may restart several times during the installation.
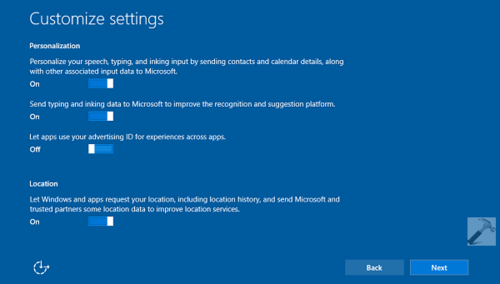
- Complete the setup: After the installation is complete, you’ll be prompted to set up your user account, connect to a network, and customize various settings. Follow the on-screen instructions to complete the setup.
Once you’ve completed these steps, you’ll have a clean installation of Windows 11 on your PC. Make sure to install the latest drivers and software updates to ensure optimal performance and security.